Free Gingival Graft: Improving Gum Thickness and Long-Term Stability
In this article:
1. What is a free gingival graft?
2. When is free gingival graft recommended?
3. The procedure of free gingival graft:
4. The outcomes of the free gingival graft:
5. The limits and drawbacks of free gingival grafting:
What is a free gingival graft?
A free gum graft (FGG) is a type of periodontal surgery that can help increase the thickness of your gums and prevent or even cover areas of recession. Gum recession is when the gum tissue that covers the roots of your teeth pulls away, exposing more of the tooth.A free gingival graft is different from other types of gum grafts. In fact, it is called "free" because the graft is not connected to its donor site like the pedicle grafts. Instead, it involves taking a small piece of tissue from the roof of your mouth and attaching it to the area where your gums have receded.
We also use the term "autogenous" to describe this type of procedure. This is because the tissue used is taken from your own body.
When is free gingival graft recommended?
Some of the uses of FGG are:1. Thickening the gums:
If your gums are thin and fragile, they may be more prone to receding over time. FGG can add more tissue to your gums and make them stronger and more resistant to wear and tear.
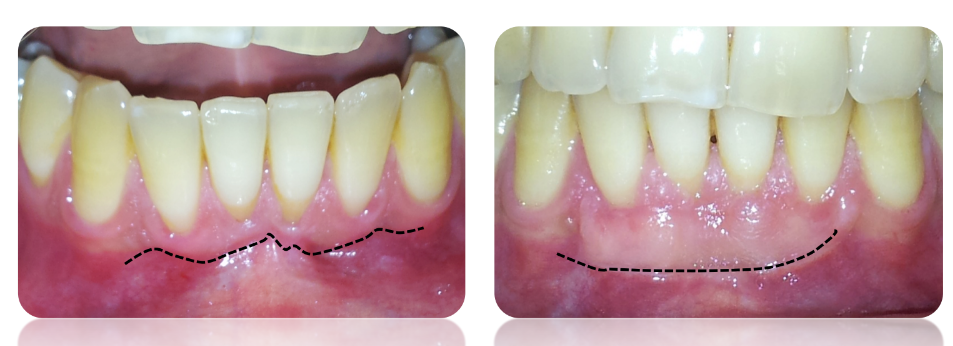
2. Covering areas of recession:
If you have lost gum tissue due to gum disease, trauma, or aging, you may have exposed tooth roots that look unsightly and feel uncomfortable. FGG can cover these areas and restore a healthy gum line.
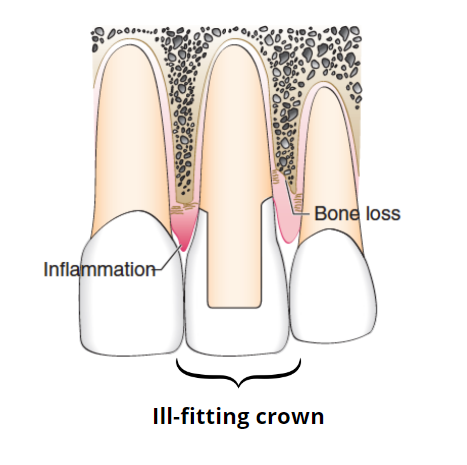
3. To prepare for crown placement or orthodontic treatment:
Prior to undergoing procedures like dental crown placement or orthodontic treatment, it is important to have a stable and healthy gum foundation. Free gingival grafts can be used to enhance the gum tissue around the teeth, providing a solid base for these treatments and preventing recessions later on.
The procedure of free gingival graft:
The procedure of free gingival graft can be divided into three main steps:1. Preparing the recipient site:
This is the area where your gums have receded and need more tissue. Your dentist or periodontist (a gum specialist) will numb this area with local anesthesia and then clean it thoroughly. They will also make a small incision along the edge of your gum line. Then, they will remove the external gum lining to make room for the graft.
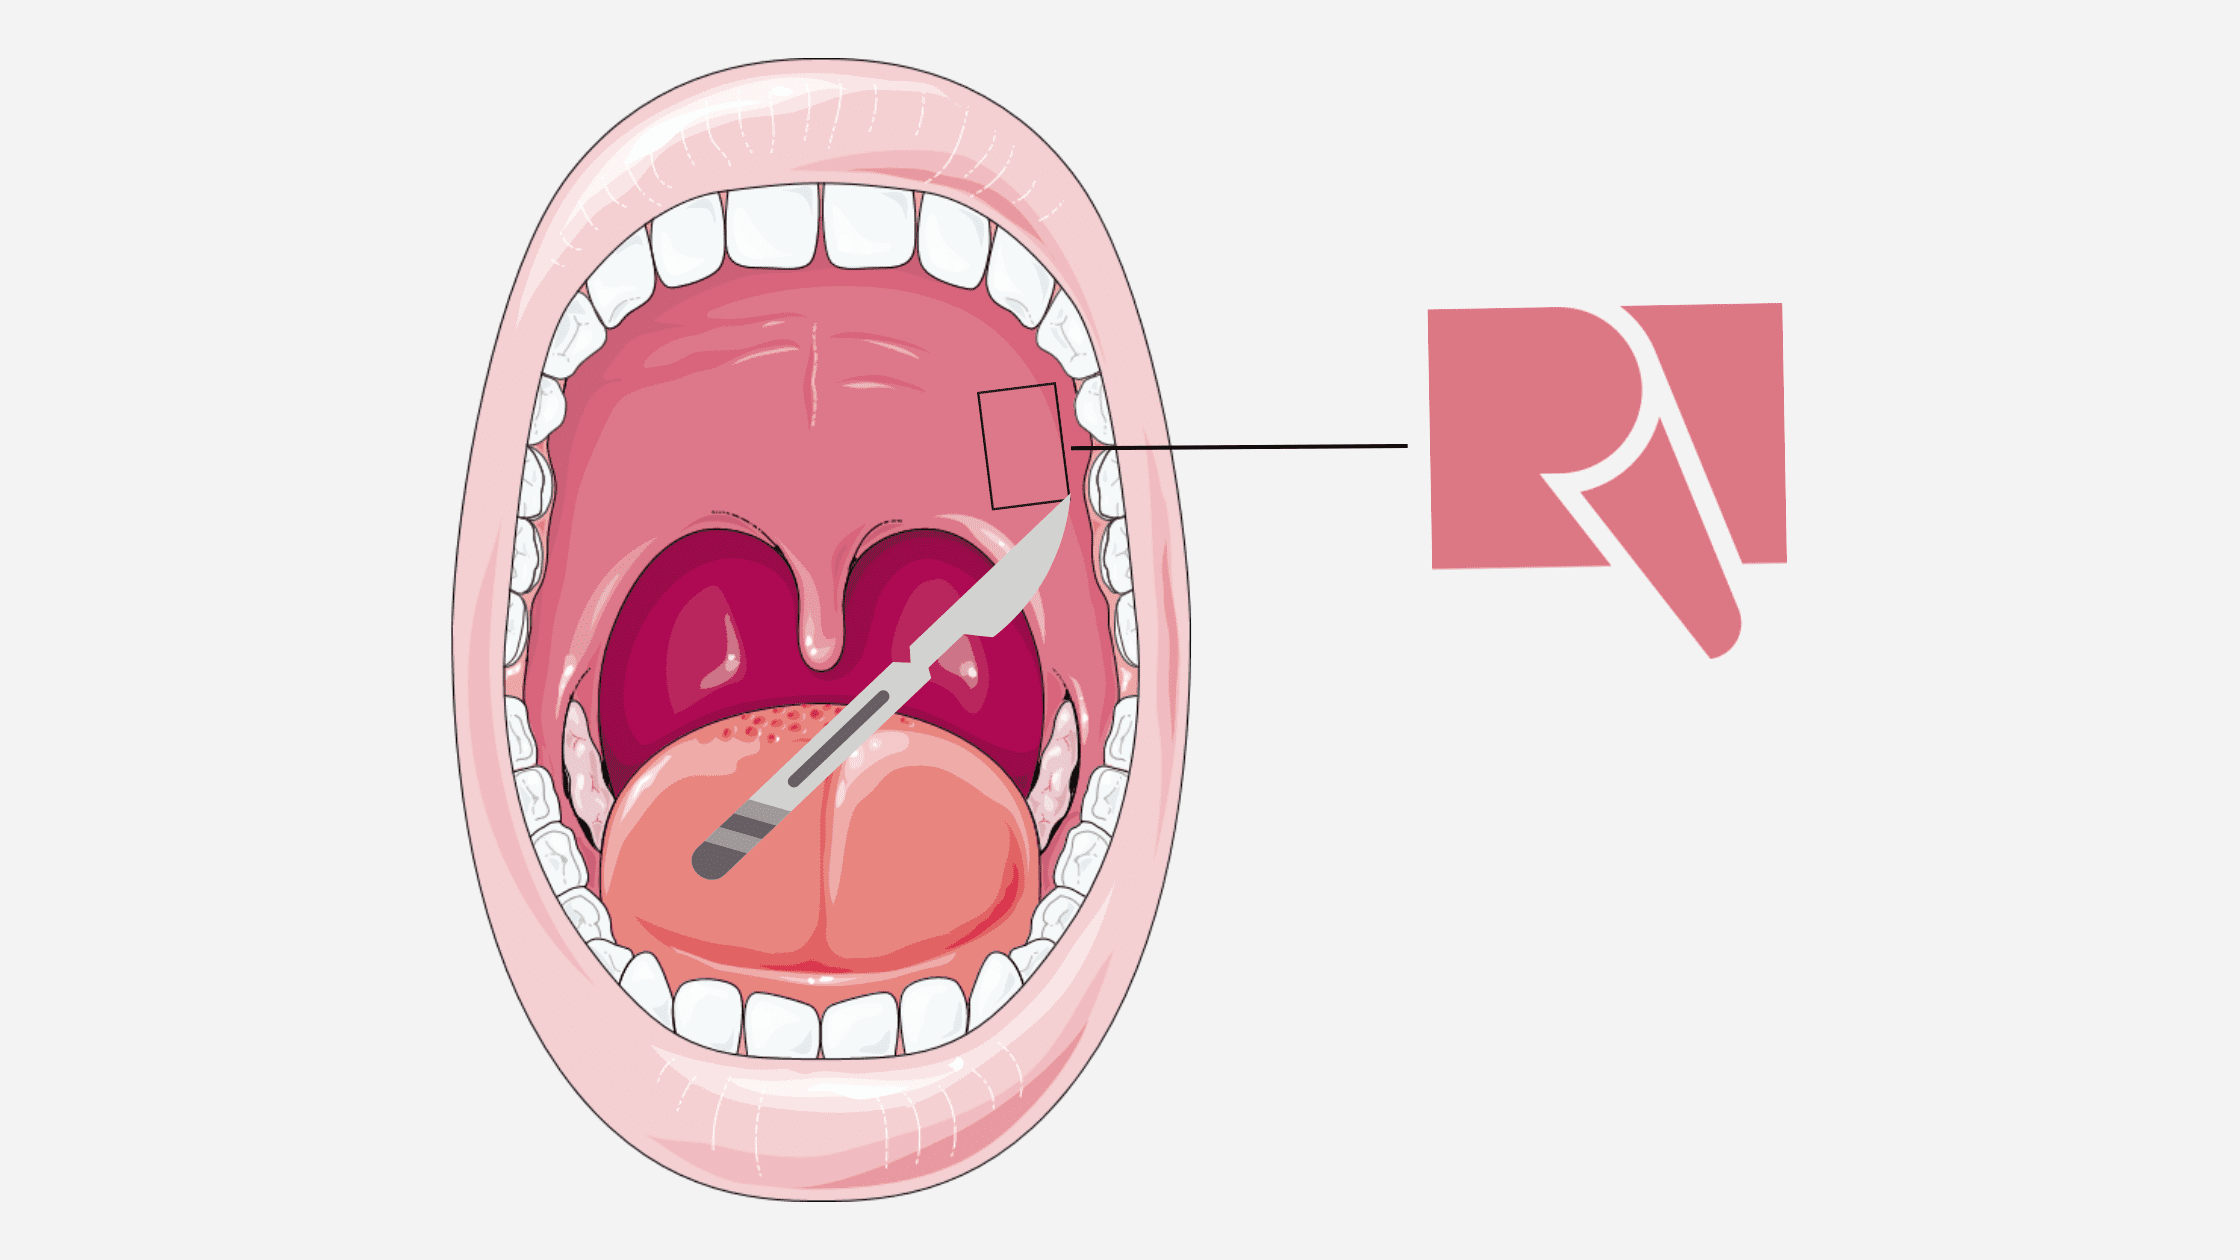
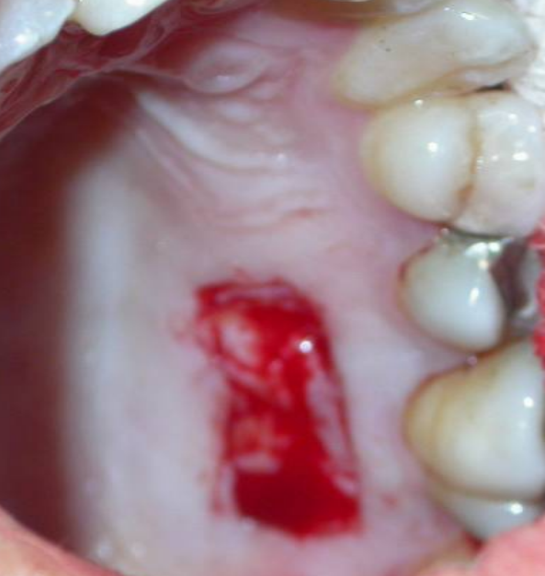
2. Preparing the donor site:
This is the area where the tissue for the graft will be taken from. Usually, this is the roof of your mouth, but sometimes it can be another part of your mouth with healthy gum tissue. Your dentist or periodontist will numb this area with local anesthesia and then cut out a small piece of tissue that matches the size and shape of the recipient site. They will also close the wound with stitches or a dressing.
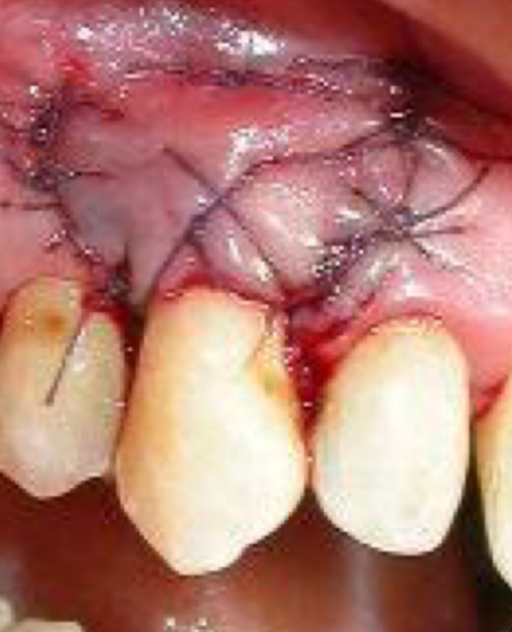
3. Attaching the graft:
This is the final step where the graft is placed into the recipient site and secured with stitches.
The outcomes of the free gingival graft:
The main purpose of the free gingival graft is to increase the thickness and quality of your gum tissue, which can help prevent or stop further gum recession.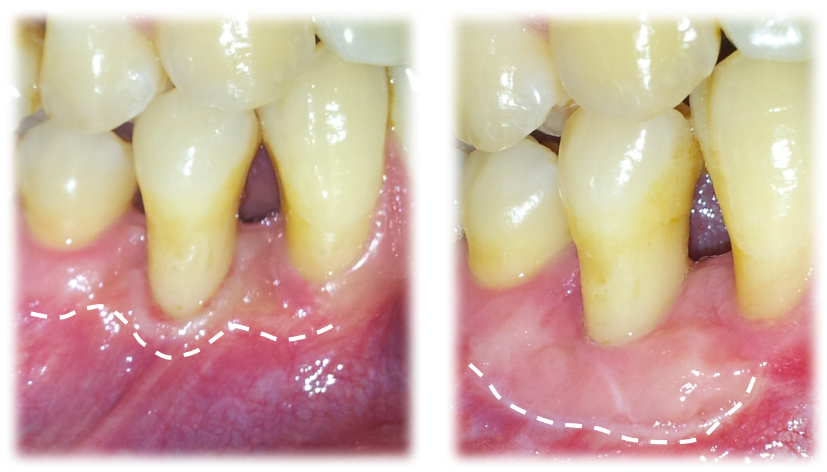
But what can you expect after the surgery? How long does it take for the graft to heal? What are the long-term results? Here are some key points to know:
The limits and drawbacks of free gingival grafting:
Despite the many benefits of the free gingival graft, it is not suitable for every situation. Here are some of the limitations and drawbacks of this technique:- TAUX DE RECOUVREMENT DES RÉCESSIONS GINGIVALES EN FONCTION DU TRAITEMENT APPLIQUÉ http://docnum.univ-lorraine.fr/public/BUPHA_TD_2014_MAGAR_CELINE.pdf
- Gingival Graft - an overview | ScienceDirect Topics
- Root coverage with the free gingival graft. Factors associated with incomplete coverage - PubMed (nih.gov)
- Complications and treatment errors in root coverage procedures - Mazzotti - Periodontology 2000 - Wiley Online Library